Visual Inspection
Technology Overview
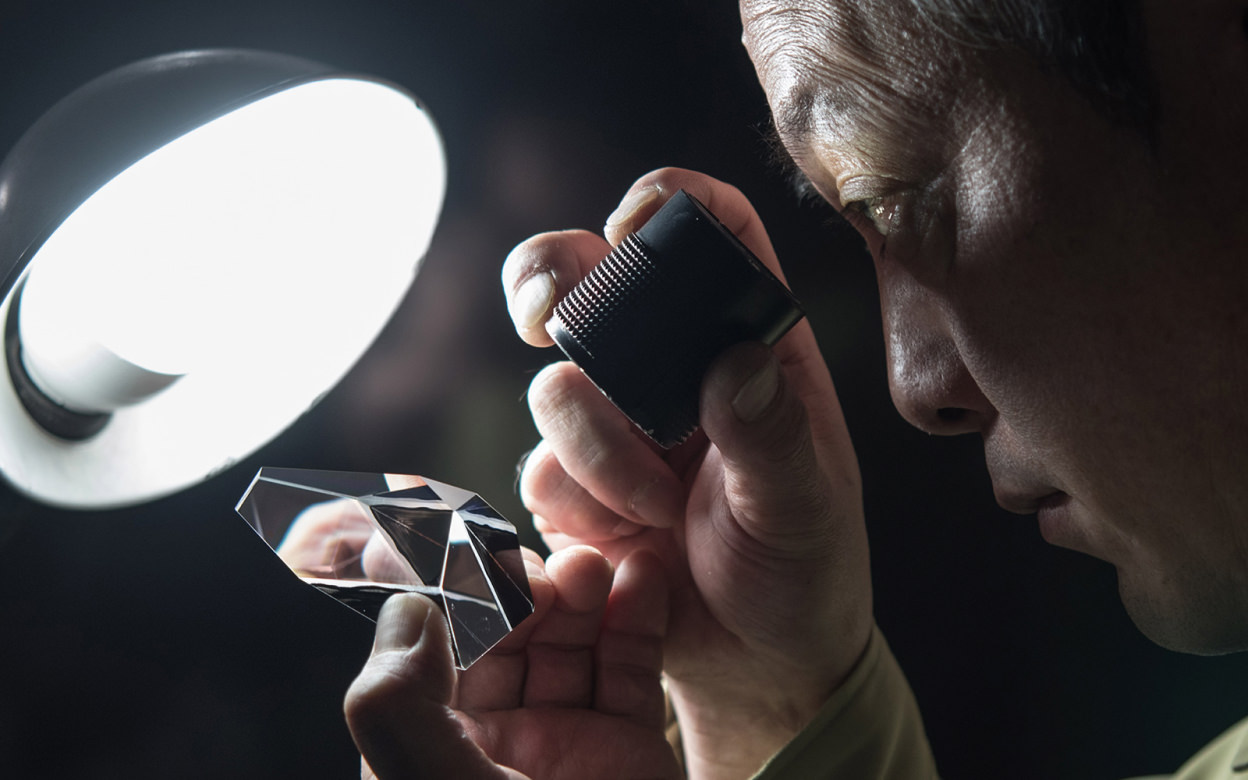
We aim to provide customers with high-quality products by incorporating visual inspections during the production process as part of our quality assurance. The appearance of optical components, in particular, affects product performance, making them delicate to handle. Nikon sets high standards for appearance quality.
Products and their components are inspected for scratches and adhesions through visual inspection and measurement to ensure they meet standards.
Optical components, in particular, require surface roughness on the order of nanometers. Even minute adhesions, scratches, and defects can lead to a deterioration of optical performance. Due to the minute detection standards, it becomes extremely difficult to detect transparent objects such as lenses. By using a light source with the appropriate wavelength and intensity, light is irradiated from various directions to observe and measure, determining whether it is an adhesion or a scratch, its size, and making a pass/fail judgment.
Nikon handles products with various performance requirements, such as cameras, microscope objective lenses, and semiconductor lithography systems.
Based on the appearance inspection standards for each product, we determine whether a product passes or fails depending on the type and size of adhesions, scratches, and defects. Actions must be taken during the process, such as removing adhesions or reprocessing, depending on the size of scratches or defects.
We also identify which process caused the defect and provide feedback to each production stage.

You can search for articles related to Nikon’s technology, research and development by tag.
