High Precision Position Measurement
Technology Overview
By measuring the position of the target of interest, it is possible to instruct the amount of drive to move the target to the desired position,or to align other targets with the target. Position measurement using light can accommodate a variety of targets, measurement accuracy, and measurement ranges depending on the light intensity change, wavelength, and detection method. In industrial applications, it is used for position control when driving parts inside equipment.
Position measurement determines distance relative to a reference point. In optical measuremen, laser light is directed onto an object and its response is detected. Examples include triangulation, an optical radar method that calculates distance from the time it takes for reflected light to return after irradiating the target with pulsed light, and optical interferometry, which measures distance by directing light onto a reference object and a target object and causing the reflected light to interfere. Generally, optical interferometry is often used for high-precision position measurement.
Click to enlarge
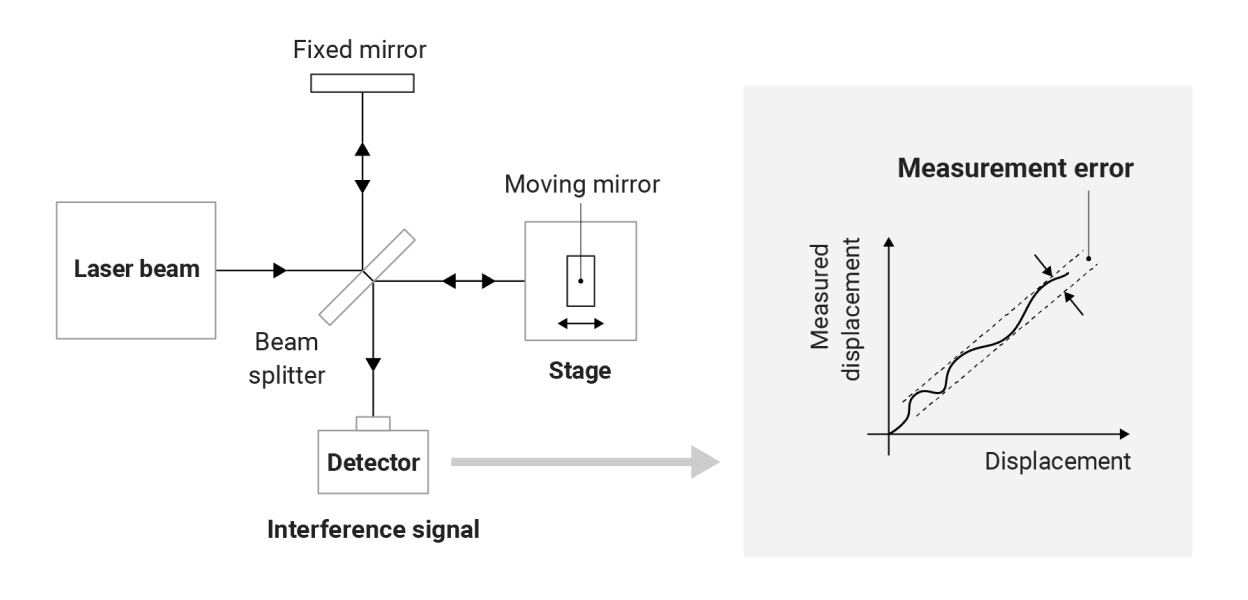
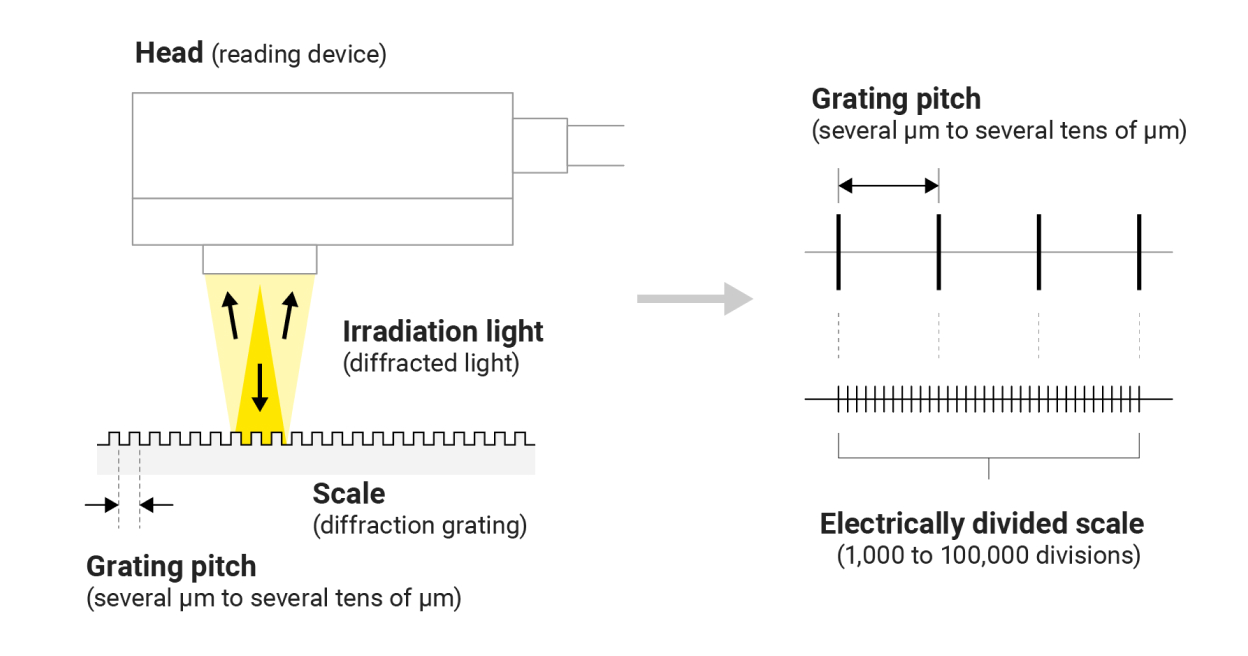
Lithography systems needs to expose the wafer at the exact location on the stage, so it is necessary to know the wafer stage's current position with high precision. Not only the direction in the horizontal plane of the stage, but also the vertical direction and the tilt of the stage surface, which affect focus, are measured with high precision. Since lithography systems also require high throughput, it is necessary to be able to measure position quickly. As an alternative to optical interferometry, we also developed a method that uses an encoder to measure position by shining light onto a ruler called a scale and reading changes in position and angle.
Click to enlarge
Technology Application Examples
Alignment Stations
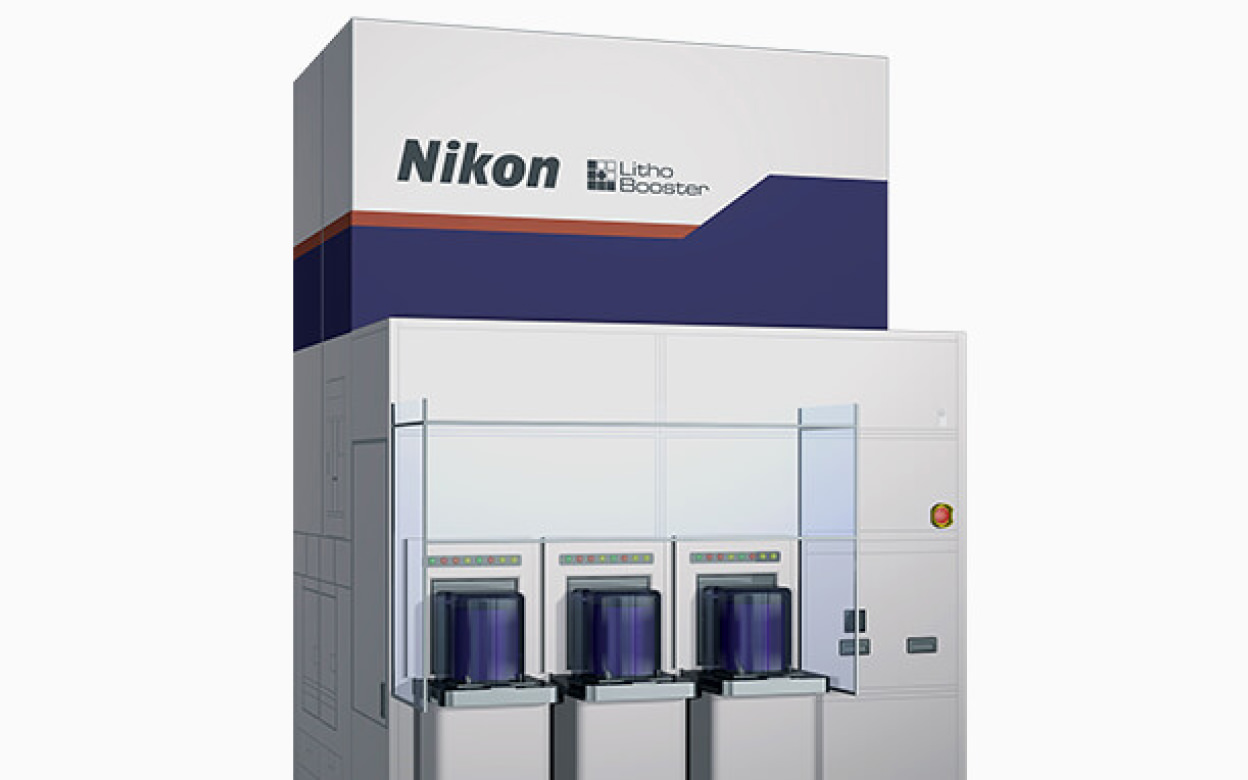
For all wafers in the semiconductor manufacturing process, the absolute values of distortion on the wafer surface (grid distortion) are measured quickly with ultra-high precision prior to exposure. Corrections are then made to ensure that exposure can be correctly overlaid on the pattern. Litho Booster enables unprecedented overlay accuracy by feeding forward correction values each wafer and every shot to the lithography system, which was conventionally impossible. In addition to grid measurement capabilities, Litho Booster can integrate other hardware components and software functionalities for measuring and correcting a variety of processing errors. Litho Booster allows the use of third-party applications and software, as well as Nikon software, providing an optimal open platform solution for customers. Litho Booster can be utilized with both Nikon immersion and non-immersion scanners. Existing lithography systems can be optimized and their performance enhanced using feedforward Litho Booster measurement results and correction values.
Technologies related to these examples
Related Technology
Position & Displacement Measurement
By understanding changes in the position and movement of an object, it is possible to control the instrument and, in the case of a subject, perform autofocus and tracking. Additionally, during the machining process, it is possible to specify the machining location. In particular, measuring rotation angles makes it possible to control the orientation of equipment like robot arms.
Nikon uses position measurement for high-speed, high-precision stage control in lithography systems, as well as for focusing a camera on the subject.
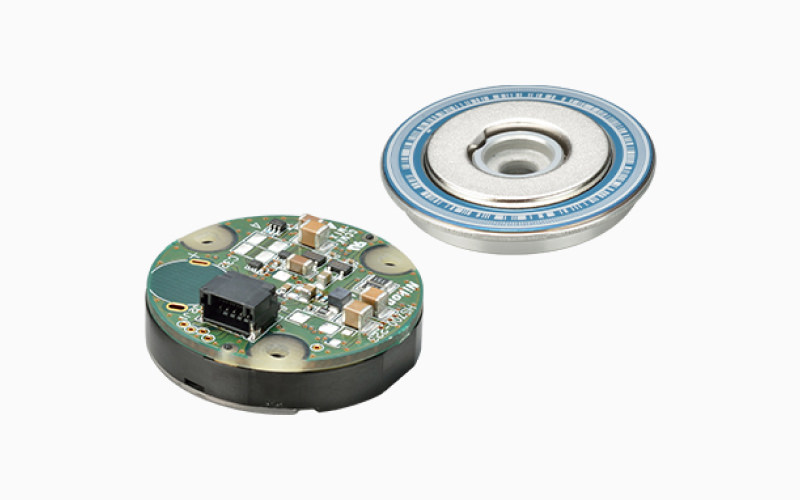
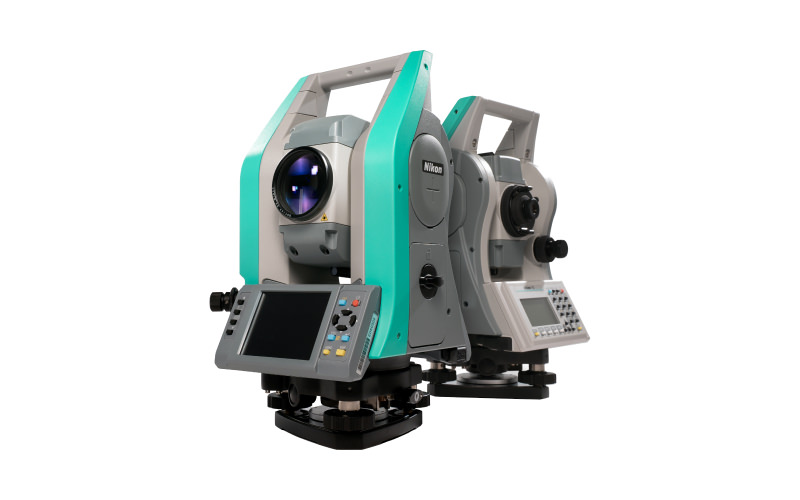
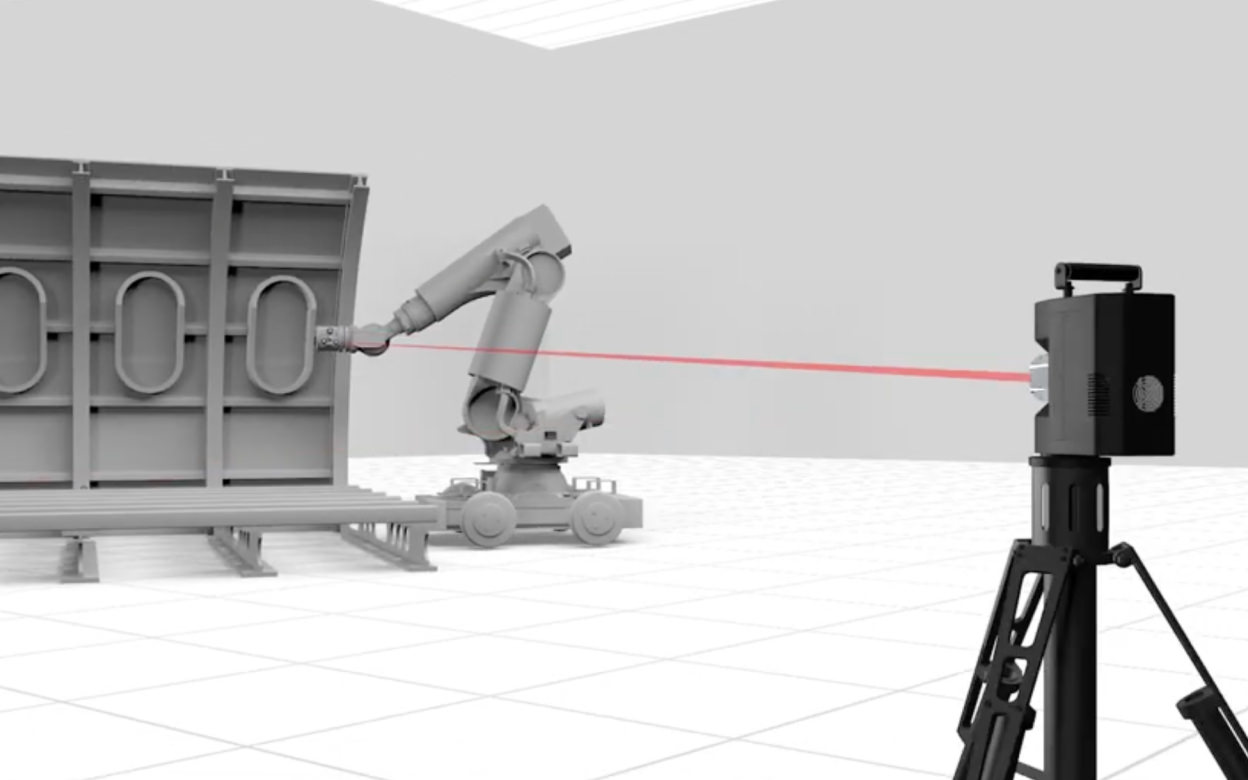
As a product, rotary encoders, which are angle sensors built into the joints of industrial robots, are required to be both highly accurate and compact. A localizer that constructs a coordinate system in space can, for example, measure the position of a workpiece with high precision, making it possible for machines to perform autonomous processing in the manufacturing process.
Main Related Products
You can search for articles related to Nikon’s technology, research and development by tag.

