Optical Component Shape Measurement
Technology Overview
Optical components, such as lenses and mirrors that make up optical systems can change the reflection and refraction of light depending on their surface shape. By measuring the surface shape, it is possible to achieve the desired surface shape and manipulate light freely. In the production process of optical parts, this information is used for feedback on processing and quality assurance.
Methods for measuring the shape of optical components can be broadly divided into contact and non-contact methods. In general, contact methods can perform measurements that are less susceptible to error due to surface conditions, but there are concerns that they take time to scan and may damage the surface, so they are used depending on the application.
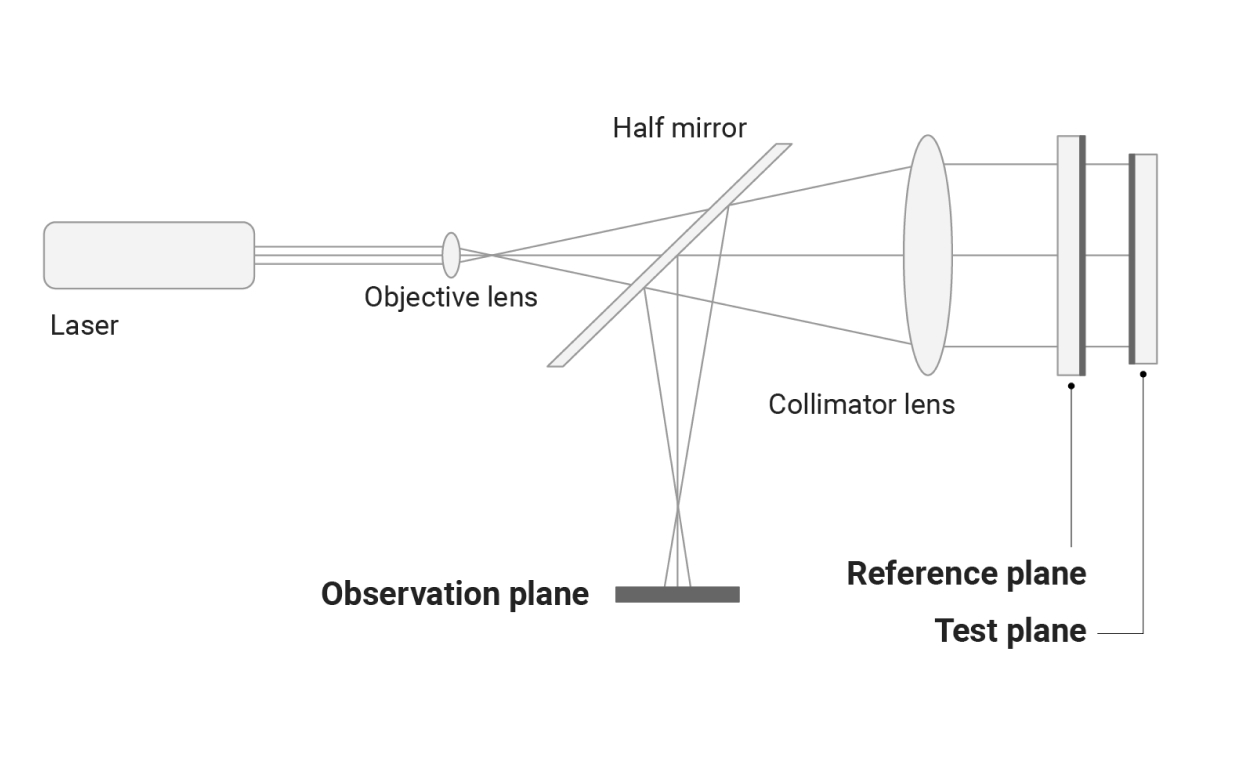
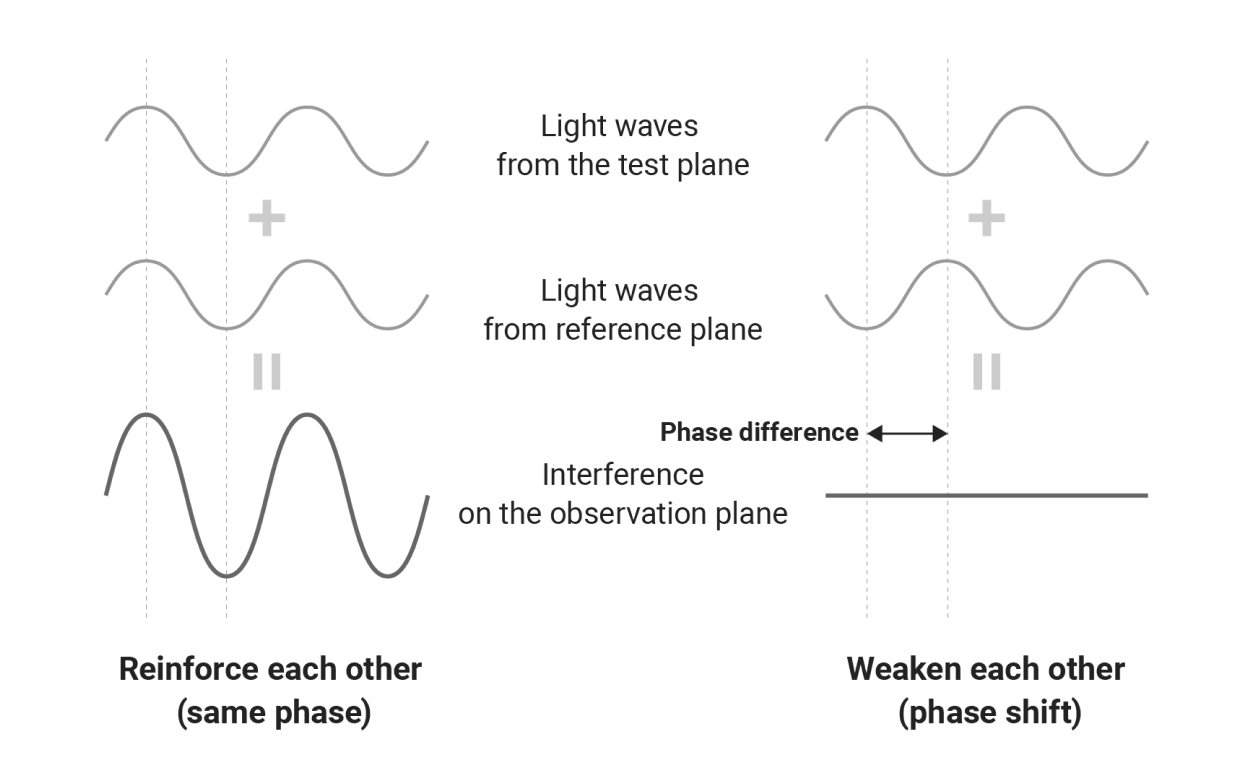
There is a non-contact method that uses an interferometer to indirectly measure the surface shape of a lens with high precision. By measuring the intensity of the light that interferes with the reference light and the light that has passed through the surface to be measured (test surface), the relative height of the surface to be measured can be calculated from the phase difference between the two lights. In the production process, the shape of the test surface can be efficiently measured by using a spherical wave as the reference light wavefront to measure the entire surface at once.
Click to enlarge
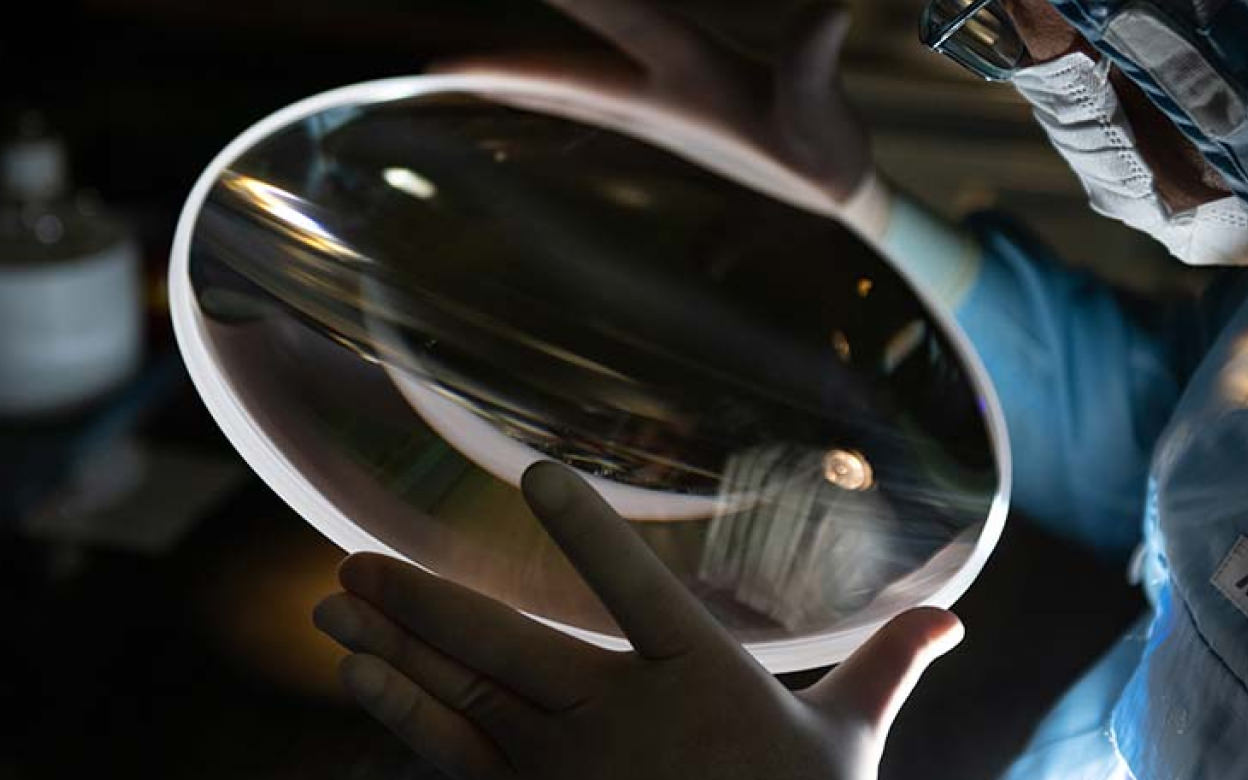
Nikon handles optical components of various shapes, and these shapes must be measured with high precision. Measurement results are used not only as feedback for processing but also for quality assurance. Measurements using interferometers also require guaranteed accuracy of the reference wavefront used as the measurement standard. In particular, when measuring the shape of an aspherical lens with high precision, it is necessary to use a reference wavefront that is closer to the surface to be measured, rather than a spherical wave.
Technology Application Examples
Semiconductor Lithography Systems
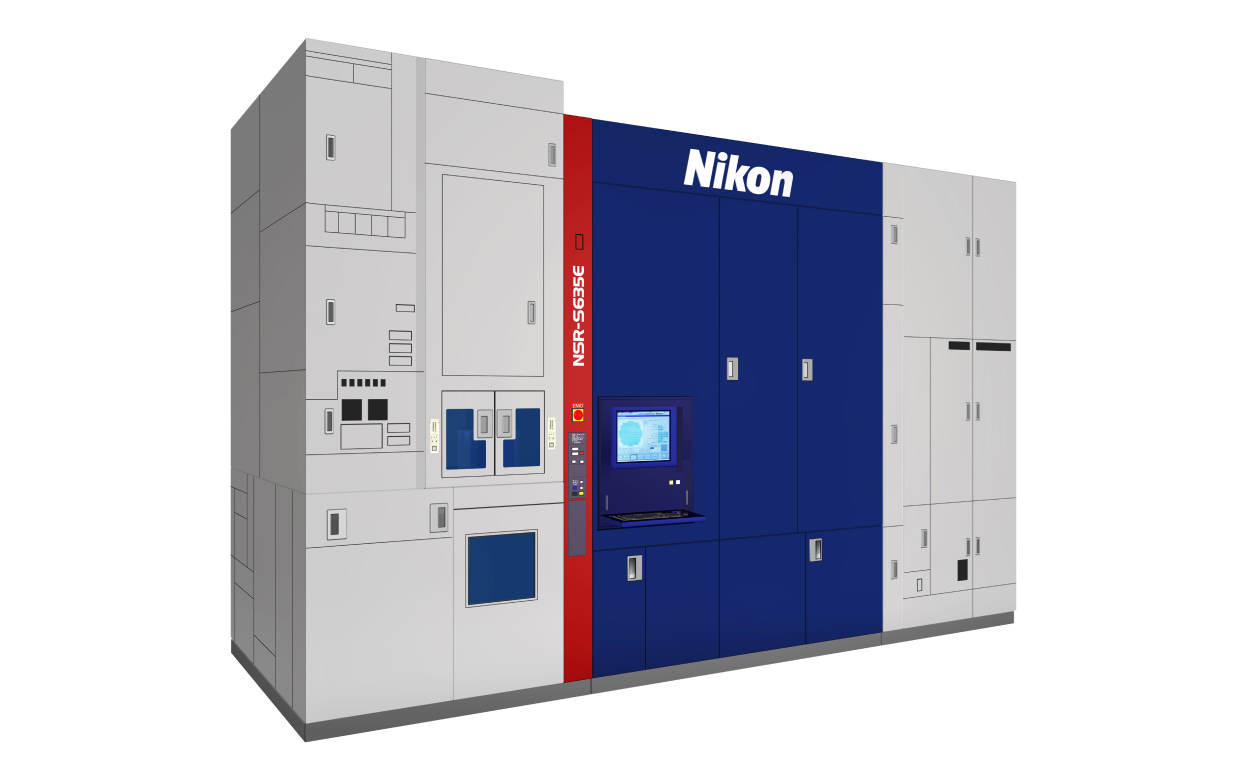
Semiconductor lithography systems are made up of numerous optical components, including illumination optical systems, projection lenses, and optical systems that measure the position of stages and other devices. Through highly accurate shape measurement of various optical components, we are able to obtain optical components with the desired shape and achieve highly accurate lithography. The accuracy of the projection lens surface is just 1 nm error. If the diameter of the lens were expanded to the size of the Earth, it would be so smooth that only 1 cm of unevenness on the ground. We collect digitized measurement data for each lens processing stage, such as dimensional errors of parts and surface accuracy of each lens, and provide design feedback.
Technologies related to these examples
Related Technology
Shape Measurement
There are two main methods for measuring the surface shape of an object: contact methods and non-contact methods.Measurements using light are primarily non-contact methods. It is possible to measure quickly without damaging the object surface.
In principle, light is irradiated onto the object to be measured, and the reflected light and scattered light are measured. Depending on the measurement method, it is possible to accommodate various surface shapes and sizes of objects to be measured, as well as measurement accuracy and speed. When machining parts made of various materials or inspecting their appearance, it is possible to determine if the desired shape has been achieved.
At Nikon, shape measurement is primarily required for processing optical components, especially lenses. Projection lenses in semiconductor lithography systems, in particular, require high-precision measurement of large-diameter lenses shapes.
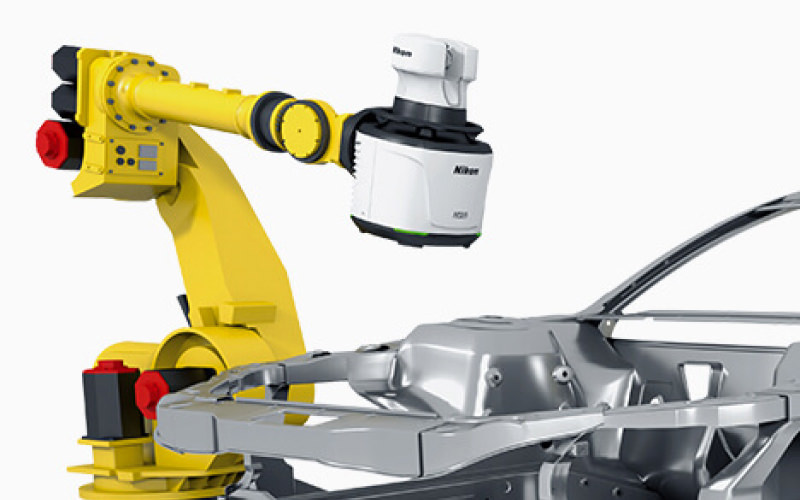
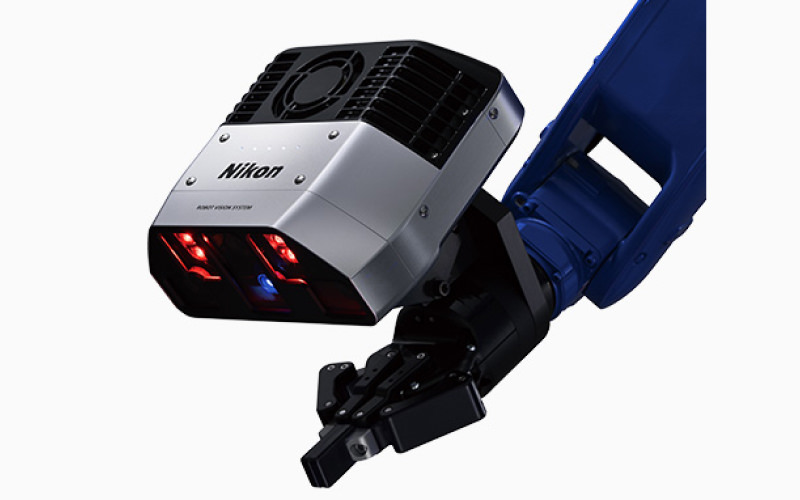
In the measurement instruments we offer as products, we apply methods like laser radar to scan component surfaces quickly and precisely for shape measurement. Additionally, similar to robot vision, we employ stereo cameras to measure objects three-dimensionally, akin to how human eyes perceive depth.

Main Related Products
You can search for articles related to Nikon’s technology, research and development by tag.

